How to add an Ad Agency to my Meta Business Account
Digital marketing is critical for any growing business, and outsourcing your digital marketing to a marketing agency is a common practice. However, at some point, you may want to switch to in-house digital marketing or change marketing agencies. Unfortunately, switching isn't always easy, and losing campaign data, insights, and audiences can be a nightmare.
Let us show you how to create a Facebook Business Manager account in 10 simple steps, allowing you to maintain full control of your data and campaigns, no matter what marketing agency you use.

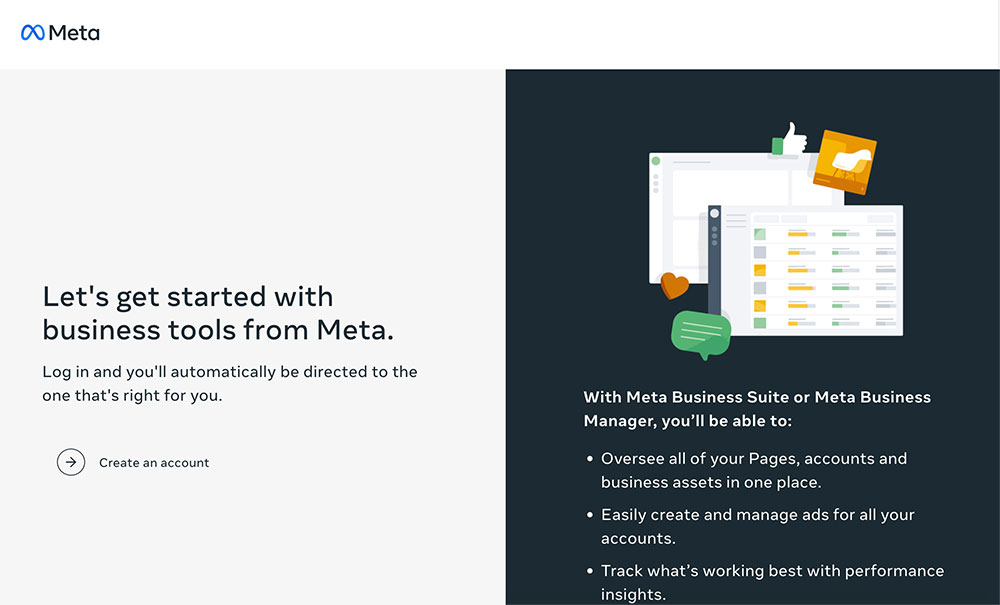
Step 1: Visit the Facebook Business Manager Website
In order to open your Facebook Business Manager, go to https://business.facebook.com/overview
You have to have your personal Facebook account before you start creating a Business Manager. Make sure to use your real name in your personal account as Facebook might ask you to verify your identity at some point.
Note: The personal account is only used for identification purposes and your information will not be displayed publicly.
Step 2: Click Create an Account
Step 3: Enter Your Business Information
In this step, you should enter your company name, your name, and your business email. Remember to use real data so you can pass the verification process easily if Facebook ever requires you to.
Step 4: Confirm Your Email Address
Step 5: Add Your Facebook Page to Your Business Manager
Once you have confirmed your email, you will be able to access your business manager account. In order to add your Facebook page click Pages in the left menu, then click the Add button and you will see the popup with 3 options.
- Add a Page: When you choose this option your business manager will become the owner of that page
- Request access to a Page: When you choose this option your business manager will get access to that page but won’t have ownership of it.
- Create a new Page: If you don’t have a Facebook page you can create one from scratch with this option.
We recommend proceeding with 2nd option: Request access to a Page
Click Add Page to proceed to the next step.
Note: When you have a fresh Business Manager account you need to set up your Primary page. So the first page you add will become your Primary page.
Copy the URL of your Facebook Page, paste it here, select your page, and click Add Page.
Check if the right page is selected and click Next.
Congratulation! You’ve now added your primary page.
If you want to change your primary page later go to:
- Business info
- Next to your Business Manager name on the top right corner click Edit
- Select your new primary page
- Click Save
Note: Your Business Manager has to own the page in order to make it primary.
Step 6: Create a New Ad Account
Select Ad accounts in the left menu, then click Add and you will see the popup with 3 options. Select Create a new ad account.
Name your ad account, select your time zone and currency. Now click Next.
In this step, you should select My business, and click Create.
Step 7: Add a User to Your Ad Account
When you finish step 6 for the first time Facebook will automatically ask you to add a user. Just make sure to set the right permissions and click Assign.
Step 8: Add an Agency as a Partner for Your Ad Account
In the left menu select Ad accounts and then click Assign Partners.
Choose Business ID.
Enter partner business ID and turn on the last toggle button to enable full control of your ad account and click Next.
If you have chosen WQC as your marketing partner, reach out to us via email to get our ID.
P.S. Thanks for choosing us 🙂
Step 9: Add an Agency as a Partner for Your Facebook Page
In the left menu select Pages and then click Assign Partners.
Choose Business ID.
Enter partner business ID and scroll down to enable Insights and Manage Page options. Toggle both buttons and click Next.
Step 10: Add Your Payment Method
Before we can start with advertising on your ad account you have to setup your payment method. Scroll down in the left menu and select Payment Methods, then click Add Payment Method.
Select your country and currency, then click Next and enter your credit card information.
Bonus Steps:
Bonus step 1: Add your team members / employees
Select People and then click the Add button.
Enter the email address of your team member / employee and assign Employee access.
Note: We suggest that you only grant Admin access to yourself.
In the next step, you have options to give them different access preferences. For Pages access, we recommend Insight and Manage Page.
For Ad accounts, we recommend only View performance.
Then click Invite and remind them to check their inbox. They have to accept your invitation in order to access the Business Manager.
Bonus step 2: Adding your 2nd company page
You can add all Facebook pages under one business account. Just go to Pages, click Add button, and select Request access to a Page.
Copy the URL of your Facebook Page, paste it here, select your page, and click Request access.
If you want to add your team member / employee to the new page, select Pages from the menu, select your new page, click Add People, and select your team member / employee.
Bonus step 3: Verify your business
This is rarely the case but if Facebook finds anything suspicious about your account, they will ask you to verify your Business Manager account.
To do so, scroll down in the left menu and select Security Center. If you are eligible for verification you will see the verify section.


