Why Image SEO Matters

If you own a website, you’re likely already using search engine optimisation (SEO) to improve visibility. But did you know that optimising images is just as important?
With over 8 billion searches on Google Lens per month, properly optimised images help search engines understand your content, improve page speed, and enhance user experience. High-quality, fast-loading images keep visitors engaged and improve your website ranking.
Follow these simple steps to make sure your website images are SEO-friendly.
1. Choose the Right File Format
Using the right file format helps keep images clear while making sure your website loads quickly. A smaller file size means faster loading times, which improves user experience and boosts SEO rankings.
- JPEG: Best for photos. Keeps file size small while maintaining quality.
- PNG: Ideal for images with transparent backgrounds.
- WEBP: A newer format that offers good quality with smaller file sizes. Not all website builders support WEBP.
- AVIF: Even smaller file sizes with high quality. Not all browsers and website platforms support AVIF yet.
💡 Best practice: Use JPEG for photos, PNG for transparent images, and WEBP for faster loading times.
2. Resize Images for Web Use
Large images can slow down your website, leading to longer load times and frustrated visitors. Resizing images before uploading ensures that your site remains fast and responsive.
Recommended Image Sizes
- Hero images (large banners): 1920px wide (prevents excessive loading time while maintaining quality)
- Full-width images: 1600px wide (suitable for content sections without slowing site speed)
- Blog post images: 1200px wide (ensures quick display on desktop and mobile)
- Product images: 800px wide (gives clear detail while keeping file size manageable)
- Thumbnails and icons: 150-300px wide (reduces unnecessary data load for smaller images)
🛠 Tools to use: Canva, Adobe Photoshop, or Squoosh.
3. Reduce File Size with Compression
If your images are too large, your site will take longer to load, which can drive visitors away and hurt your SEO ranking. Compressing images reduces file size while maintaining good visual quality.
Best File Sizes for Web
- JPEG: Under 100KB (ideal for fast loading without visible quality loss)
- PNG: Under 200KB (useful for images needing transparency while keeping loading times reasonable)
- WEBP: 30-50% smaller than JPEG (recommended for better speed and quality balance)
🔧 Best compression tools: TinyPNG, TinyJPG, or ShortPixel.
4. Optimise Image File Names
Descriptive file names help search engines understand the content of your images, making it easier for them to appear in search results.
✅ Best practice: Use short, descriptive names with hyphens, e.g., melbourne-interior-design.jpg. This helps both SEO and accessibility.
❌ Avoid: Default file names like IMG1234.jpg or keyword stuffing, as this can appear spammy.
5. Add Descriptive Alt Text
Alt text (alternative text) helps search engines and visually impaired users understand your images. Adding clear, keyword-friendly alt text improves accessibility and SEO rankings.
How to Write Good Alt Text
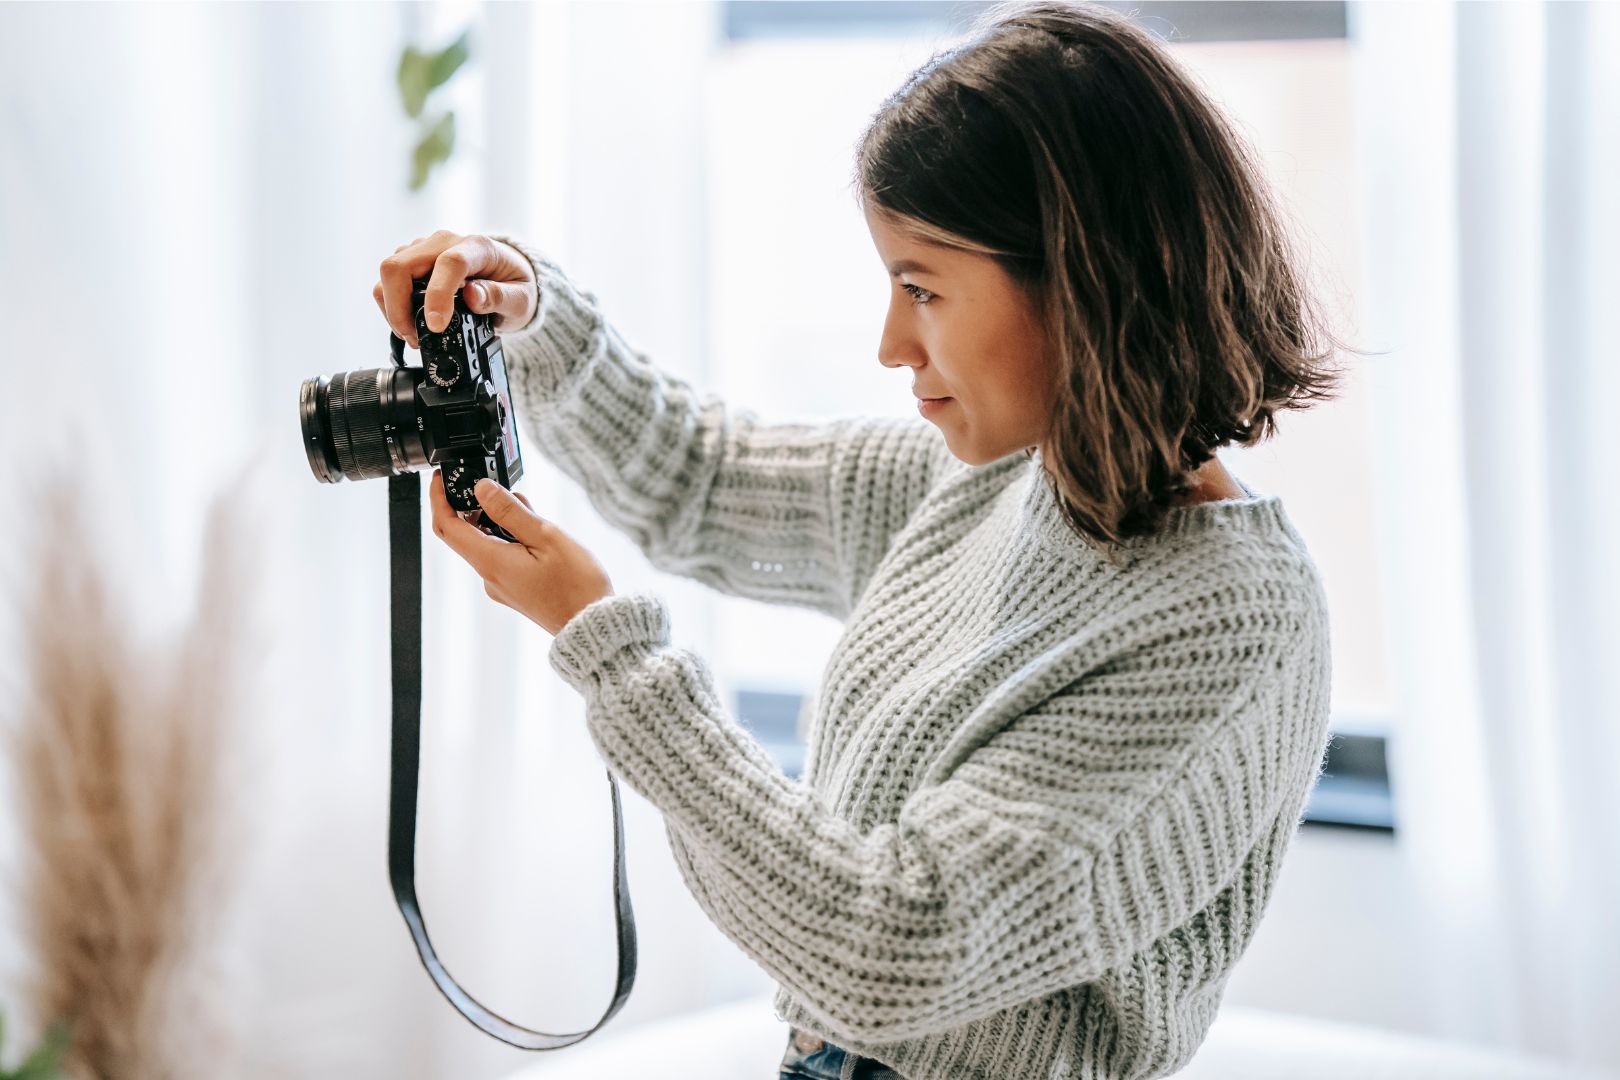
✅ Be clear and descriptive: "A smiling woman wearing a blue jumper, working on her laptop."
✅ Include keywords naturally: "Melbourne-based interior designer reviewing home styling ideas."
❌ Avoid keyword stuffing: "SEO best image optimisation website Melbourne digital marketing."
🔧 Where to add alt text: In your website’s content management system (CMS), such as WordPress, Webflow, Shopify, or Squarespace.
6. Geo-Tag Images for Local SEO
If you run a local business, adding location data to your images can help your site rank higher in local search results. Search engines use this metadata to better understand your business’s relevance to users in your area.
How to Geo-Tag an Image
- Use tools like GeoImgr or Google Photos to add location data.
- Add your business location (city, state, landmark) to the image’s metadata.
- Save and upload the geo-tagged images to your website.
This can help your business appear in Google Images and Google Maps searches related to your area.
The Bottom Line
Optimising website images for SEO helps your site load faster, rank higher, and provide a better user experience. Faster websites attract and retain more visitors, leading to higher engagement and conversions.

Quick Recap:
✅ Choose the right file format (JPEG, PNG, WEBP, AVIF) to balance quality and speed.
✅ Resize images to recommended dimensions to avoid slow loading times.
✅ Compress images to reduce file size and improve site speed.
✅ Name images descriptively so search engines can understand them.
✅ Add alt text to improve accessibility and boost SEO rankings.
✅ Geo-tag images if your business serves a local audience to enhance local SEO.
By following these steps, your website will look great, load quickly, and rank higher in search results!


.jpeg)